Honey and cereal Halloween mummies
About
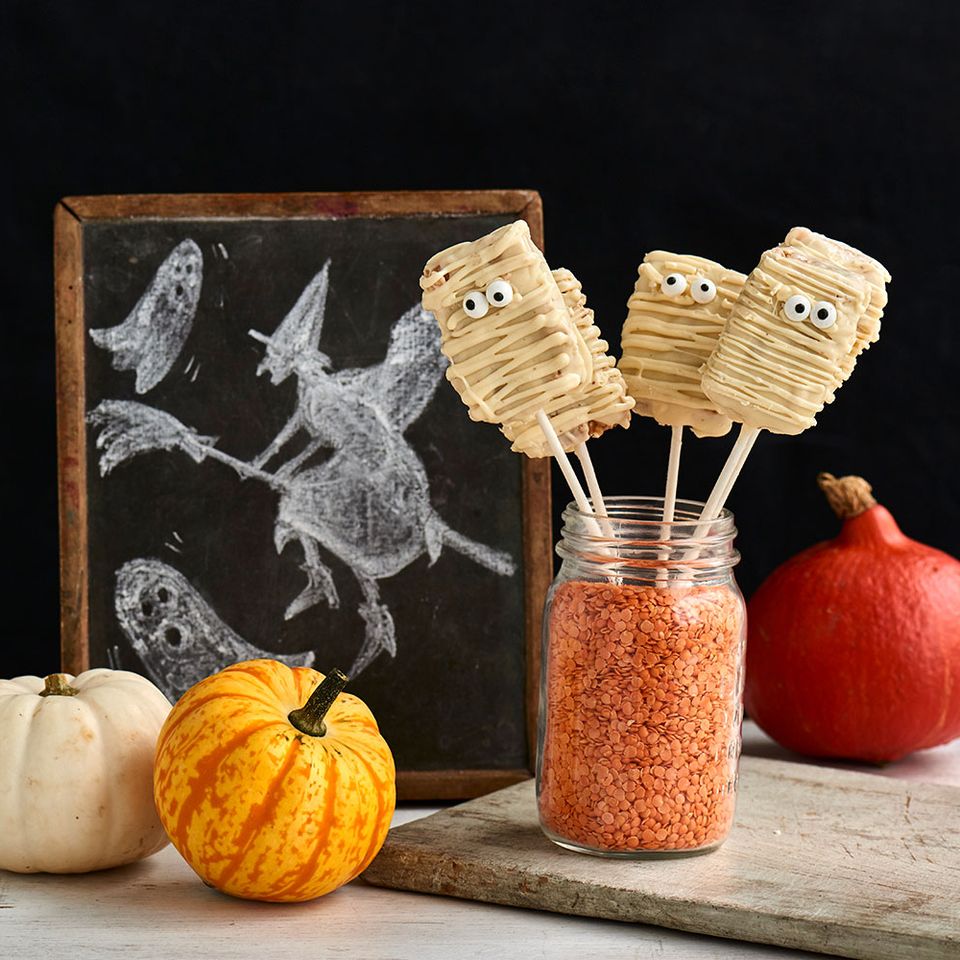
Transforming a childhood classic of puffed rice cereal squares into a terrific Halloween centre piece. These mummies will make your Halloween table complete with every kid wanting to bite on the head of the mummy!
Ingredients
Top tip: Tick off the items you've already got, so you can quickly see what's left to buy
Pre-line a 9×9 silicone square baking tray with cling film.
- 1
Pre-line a 9×9 silicone square baking tray with cling film.
- 2
Warm the honey in a pan until it thins and begins to bubble. Remove from heat. Stir in peanut butter until thoroughly mixed together. Add the puffed rice cereal and make sure every bit is coated in the mixture.
- 3
Tumble the mixture out onto the pre-lined baking tray. Wet your hands and press the mixture down really hard to ensure there are no air gaps. This is really important.
- 4
Allow to set for up to 2 hours in the freezer. Once set remove from freezer and allow to thaw slightly before cutting into 16 equal rectangles, place back in the freezer for a further 30 minutes.
- 5
Warm the candy melts in the microwave in a mug x1 bag at a time. You’ll need to do this in 30-second bursts, stir then repeat until it’s ready to be used.
- 6
Pre-line a 32cmx22cmx5cm baking tray with baking parchment.
- 7
Dip the bottom of the lollipop in melted chocolate then insert into the shortest length of the puffed rice cereal, then cover the base with chocolate, repeat this step with all the treats then place in the fridge to set for 10minutes.
- 8
After the sticks have adhered to the treats, you need to immerse the entire rice krispie treat into the mug of melted candy melt to cover the entire treat, repeat this step with all the treats then place back into the fridge to set.
- 9
Now with the remaining melted chocolate place this into a piping bag (or you can use a sandwich bag if you don’t have one to hand) and snip the end.
- 10
Remove the treats from fridge then using the piping bag place 2 dots in the middle in order to stick on the eyes.
- 11
Then going left to right go back and forth with the piping bag to get the mummy effect on the body of the treats so you end up with layers to represent the mummies bandages. Place back in the fridge to set for a further 10 minutes.
- 12
Once set, remove from the fridge and place centre stage on your Halloween table for everyone to enjoy!
